Table of Contents
ToggleRecessed lighting has become a staple in modern homes, and for good reason. When done right, it delivers clean, unobtrusive illumination that makes a room feel bigger, brighter, and more polished. Lightolier recessed lighting fixtures have earned a solid reputation among DIYers and professionals for quality construction and flexibility across different spaces. Whether you’re updating a kitchen, finishing a basement, or adding ambient light to a living room, Lightolier offers reliable options that don’t require deep pockets or years of electrical experience. This guide walks you through what Lightolier recessed lighting is, how to choose the right fixtures, and how to plan and install them in your home.
Key Takeaways
- Lightolier recessed lighting fixtures mount flush into ceilings for a sleek, unobtrusive look that makes rooms feel larger and more polished without visible hardware.
- Choose Lightolier for longevity, clear compliance ratings (IC vs. non-IC), integrated LED modules, and straightforward retrofit options that avoid outdated bulb technology.
- Space recessed lights 4 to 6 feet apart using the rule: divide ceiling height by 2 to determine wall distance, then space remaining fixtures evenly for optimal illumination.
- Always turn off power at the breaker and use a voltage tester before installation—electrical safety is non-negotiable, and permits or professional electricians are worth the investment.
- Enhance Lightolier recessed lighting with layered design by combining fixtures with decorative elements like pendants or chandeliers, and match color temperature (2700K for bedrooms, 3000K–4000K for kitchens) for cohesive ambiance.
- For bathroom installations, ensure shower-rated fixtures with sealed housings are used in wet locations to prevent moisture damage to wiring.
What Is Lightolier Recessed Lighting and Why Choose It?
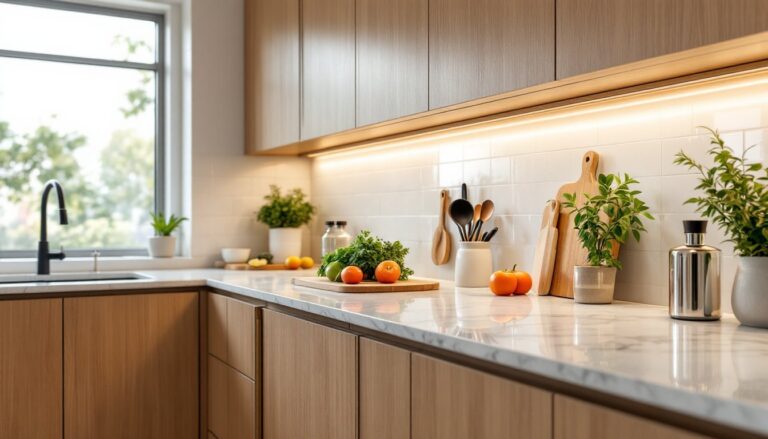
Lightolier recessed lighting fixtures mount flush into your ceiling, creating a sleek look without visible hardware. The fixture housing sits above the drywall, and only a trim ring and lens show, a trim kit, peeks through. This design works in almost any room and pairs well with other light sources.
Lightolier is owned by Acuity Brands, a major lighting manufacturer. The brand has been around for decades and focuses on both residential and commercial products. Their recessed fixtures are known for solid build quality, good thermal management, and easy retrofit options for existing installations.
Why choose Lightolier over generic fixtures? Longevity, compliance, and ease of use stand out. Fixtures come rated for insulation contact (IC) or non-insulated (non-IC) ceilings, and the instructions are clear about which is which. Many Lightolier units ship with integrated LED modules or accept retrofit kits, so you’re not locked into outdated incandescent or halogen bulbs. The trim rings come in standard sizes (4-inch, 5-inch, 6-inch, and larger), making replacements and upgrades straightforward.
Types of Lightolier Recessed Fixtures for Different Spaces
Residential and Decorative Options
For living rooms, bedrooms, and hallways, Lightolier offers trim kits in multiple finishes: white, black, brushed nickel, and chrome. Baffle trims (with ridges) reduce glare and work well over dining areas. Specular (mirror-lined) trims bounce light and look sleek in modern spaces. Gimbal trims tilt and swivel, handy for accent lighting or task lighting over artwork.
Shower-rated fixtures are available if you’re planning recessed lighting in a bathroom. These are rated for wet locations and have sealed housings to keep moisture out of wiring. Standard fixtures in bathrooms without direct spray can use regular trims: just ensure the housing itself is bathroom-approved.
Planning Your Recessed Lighting Layout
Before you drill or cut, lay out your fixtures on paper or using masking tape on the ceiling.
Spacing and Spacing Formula: For a typical 8-foot ceiling, space recessed lights 4 to 6 feet apart in a grid pattern. A common rule is: divide ceiling height by 2 to get the distance from the wall to the first fixture, then space the rest evenly. For a 10-foot-wide room, that’s 2.5 feet from each wall, then fixtures at 5-foot intervals. If your room is 12 feet wide, you might place fixtures at 2 feet, 7 feet, and 12 feet from one wall.
Avoiding Obstacles: Mark the location of joists, ductwork, and plumbing before cutting holes. A stud finder helps. If you hit a joist, move the light 6 inches, or 16 inches (standard joist spacing) in another direction. Attic access and HVAC returns are common snags: plan around them.
Circuit Load: Recessed lights draw power. A 15-amp circuit handles about 1,440 watts. If you’re adding six 60-watt-equivalent LED fixtures (about 10 watts actual), you’ll use roughly 60 watts, well within budget. Factor in other devices on that circuit (outlets, fans) and don’t exceed 80% of capacity to avoid breaker trips.
You can find practical advice on overhead lighting layouts from experienced home improvement sites to refine your spacing.
Installation Basics for DIY Projects
Installation varies by housing type, but the fundamentals are the same: cut a hole, secure the housing, run wire, and trim it out.
Tools You’ll Need:
• Drywall saw or hole saw (4-inch, 5-inch, or 6-inch, depending on fixture size)
• Voltage tester (non-negotiable for safety)
• Wire strippers and lineman’s pliers
• Cordless drill
• Fish tape (for pulling wire through tight spaces)
• Work light and ladder
• PPE: Safety glasses, work gloves, and a dust mask (drywall dust is persistent)
Step-by-Step (Remodel Housing Example):
- Turn off power at the breaker panel. Use a voltage tester to confirm the circuit is dead. Test both the outlet and the breaker to be sure.
- Cut your hole using a drywall saw or hole saw. Score the drywall lightly first to avoid splintering edges.
- Feed the housing into the hole and align the mounting brackets. Spring-clip or twist-lock styles self-secure: tighten the clips or turn the collar until snug.
- Pull wire through the hole using fish tape or by hand if there’s slack above. Use 14/2 NM cable (Romex) for standard 15-amp circuits: 12/2 for 20-amp.
- Make the connection inside the housing junction box. Strip 3/4 inch of insulation from each wire, twist like colors together (black to black, white to white), and screw on wire nuts. Tuck the pigtail back into the box.
- Install the trim kit by pushing it up and twisting or clipping it into the trim ring. Some trim rings require a spring clip or screw.
If you’re connecting to existing circuit wiring, use a 3-way wire splice or a junction box, never twist wires and leave them exposed. Many jurisdictions require a permit and inspection for new circuits. Check locally.
When in doubt about running new circuits, hire a licensed electrician. Recessed lighting is straightforward, but electrical mistakes are expensive and dangerous.
Design Tips for Maximum Impact
Recessed lighting is functional, but good placement and trim selection make it beautiful.
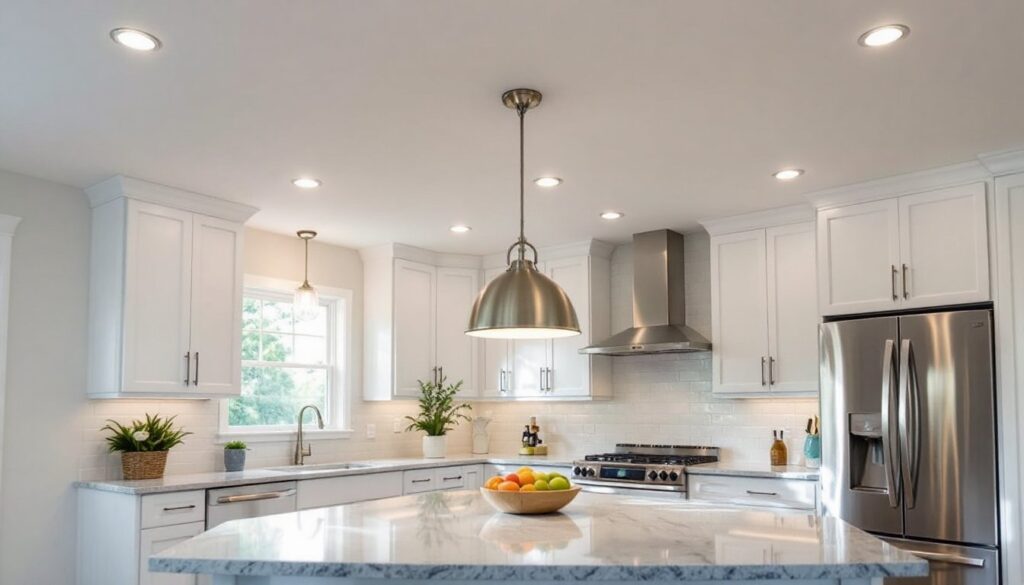
Layering Light: Recessed fixtures work best as part of a layered lighting plan. Add a chandelier, pendant, or wall sconce for ambiance or task lighting. Recessed lights provide the foundation: decorative fixtures add character. A kitchen with recessed overhead lights and a pendant over the island feels more intentional than recessed lights alone.
Color Temperature Matters: Lightolier LED modules come in 2700K (warm, incandescent-like), 3000K (neutral white), and 4000K+ (cool, task-oriented). Bedrooms and living rooms benefit from 2700K. Kitchens and bathrooms often suit 3000K or 4000K. Mixing warm and cool temps in the same room looks choppy: pick one across a space, unless you’re creating separate zones (e.g., 3000K under kitchen cabinets, 2700K in the dining area).
Dimming and Control: Not all LED modules are dimmable. If you want mood control, specify a dimmable Lightolier LED module and install a compatible dimmer switch. Cheap dimmers can make LEDs flicker: spend a bit more on a quality unit.
Accent and Ambient Balance: Recessed lights work for general illumination, but they don’t create focal points. If you have artwork, an accent wall, or an architectural detail, add a small recessed light or a track light to highlight it. The contrast between accent and ambient light creates depth.
Research-backed home improvement sites like Bob Vila offer detailed guidance on lighting design principles and fixture selection that complement Lightolier’s technical specs. You’ll also find design and decor tips that balance aesthetics with function.
Conclusion
Lightolier recessed lighting fixtures deliver reliability, clean aesthetics, and flexibility, whether you’re installing them fresh or retrofitting. Start with a solid layout plan, understand your housing type and circuit limits, and don’t rush the electrical work. A day of planning and careful installation beats years of squinting at poorly placed lights. When in doubt, call an electrician: it’s not the place to cut corners.