Table of Contents
ToggleOutdoor ceiling lighting fixtures do far more than illuminate a porch or patio, they define the entire atmosphere of your exterior space. Whether you’re hosting a summer dinner, creating a cozy evening retreat, or simply improving safety around entry points, the right fixture transforms how you use and enjoy your home. Unlike indoor lighting, outdoor ceiling fixtures must withstand weather, UV exposure, and temperature swings while delivering reliable performance season after season. This guide walks you through the most practical options available today, installation basics, and maintenance routines that keep your fixtures looking sharp and functioning properly for years to come.
Key Takeaways
- Outdoor ceiling fixtures must have IP65 or IP66 wet ratings and corrosion-resistant materials like stainless steel or aluminum to withstand weather, UV exposure, and temperature changes season after season.
- Flush mount and semi-flush outdoor ceiling fixtures are ideal for covered porches and tight headroom, while pendant lights and chandeliers work best in larger covered patios where rain won’t saturate the hanging mechanism.
- Your electrical box must be rated for the fixture weight (typically 50 lbs max for standard boxes), and undersized installations require a brace or fan-rated box to prevent serious safety hazards.
- Brightness and color temperature should match function: entry points need bright white light (5000K), while entertaining zones can use warmer tones (2700K) with dimmers for flexibility.
- LED bulbs outperform incandescent options, using far less energy and lasting 25,000+ hours compared to 1,000 hours, making them the practical choice for outdoor ceiling lighting.
- Seasonal maintenance including cleaning, caulk inspection, and wire corrosion checks prevents 20-30% light loss from pollen and salt buildup and extends fixture lifespan significantly.
Types of Outdoor Ceiling Fixtures Worth Considering
Flush Mount and Semi-Flush Options
Flush mount fixtures sit snug against the ceiling, perfect when headroom is tight or you want a clean, understated look. These fixtures mount directly to the electrical box with minimal gap, making them ideal for covered porches where a protruding fixture would feel cramped. Semi-flush mounts drop 4 to 6 inches, adding a touch more visual interest while staying compact.
Both styles accommodate various materials and finishes. Aluminum and stainless steel are the go-to choices for coastal areas: they resist salt-air corrosion far better than iron. Wet-rated fixtures are essential if your covered space gets direct rain exposure. Look for IP65 or IP66 ratings on the product specs, this tells you the fixture can handle water spray and moisture. Many homeowners overlook this: a fixture rated for “damp” locations only will fail within one season if mounted where rain reaches it.
Flush mounts typically run $40 to $200 depending on finish and material. Bulb compatibility varies, so confirm whether the fixture accepts LED, halogen, or incandescent before purchasing. Modern LED fixtures use far less energy and last 25,000+ hours: incandescent bulbs burn out every 1,000 hours and waste heat.
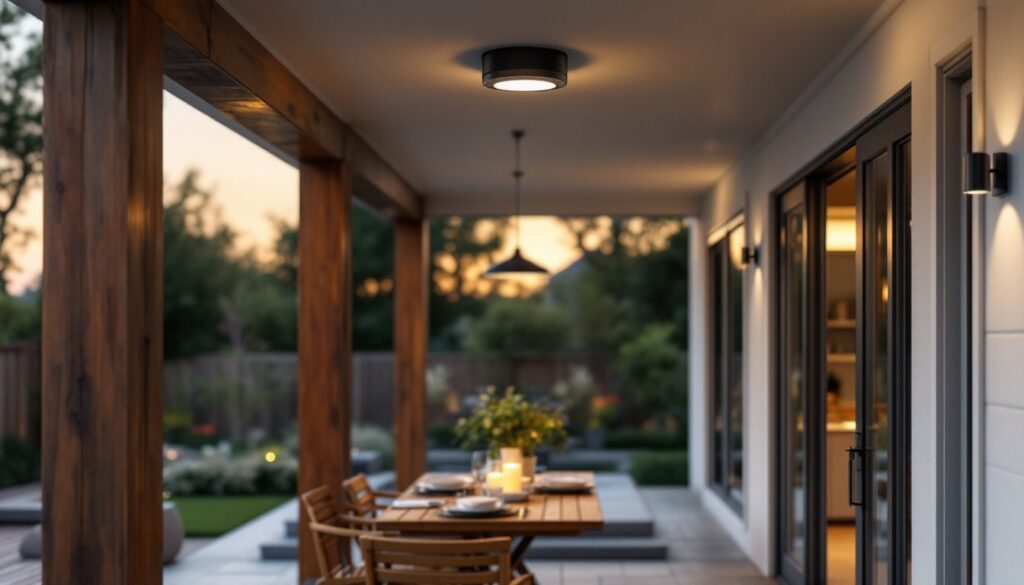
Pendant Lights and Chandeliers for Patios
Pendant lights hang from a stem or chain, creating focal points and intimate pools of light. A single oversized pendant above a bistro table sets a café vibe: clustered pendants across a pergola or deep soffit create drama and functional task lighting. These work beautifully in covered patios where rain won’t saturate the hanging mechanism.
Outdoor chandeliers deliver elegance but require honest assessment of scale. A formal chandelier over a small screened porch overwhelms the space: the same fixture becomes a showstopper above a 12-by-14-foot patio. Vintage or wrought-iron styles suit traditional homes, while minimalist metal-and-glass designs complement modern architecture.
Both pendants and chandeliers demand sturdy mounting. Your electrical box must be rated for the fixture weight, typically stamped on the box itself (usually 50 lbs max for standard boxes). Oversized fixtures or old installations might require a brace or fan-rated box. This isn’t cosmetic, a 30-pound chandelier hanging from an undersized box is a serious liability. Pendant and chandelier pricing spans widely: $60 to $500+, with vintage or designer pieces commanding premium prices.
When choosing either style, confirm the wet-rating and material durability. Salt spray, freeze-thaw cycles, and UV damage are real concerns. Protective finishes like powder coating or stainless steel construction extend life significantly.
Choosing the Right Fixture for Your Space
Start by assessing location and function. A covered porch entry needs bright, white light (5000K color temperature) and enough lumens to reveal faces and prevent trips. A soffit above a patio bar can be warmer (2700K) and more atmospheric. Outdoor lighting ideas from design sources showcase how fixture placement affects both safety and ambiance.
Measure your ceiling height and the area you’re lighting. A fixture’s spread depends on the bulb wattage and reflector design. A 60-watt-equivalent LED (about 800 lumens) works for a 6-by-8-foot area: larger spaces need 1,000+ lumens or multiple fixtures. Cramped spaces benefit from diffusing shades that scatter light evenly and reduce harsh shadows.
Consider your home’s architectural style. Craftsman-era homes suit copper or bronze fixtures with exposed-filament Edison bulbs. Contemporary homes pair well with sleek matte-black or brushed-nickel designs. Beach and coastal properties almost always need corrosion-resistant stainless steel or marine-grade aluminum. Mismatched fixtures stand out (usually badly), so aim for finishes that complement existing door hardware, gutter, and trim colors.
Bright overhead ceiling fixtures from major retailers offer convenient in-store mockups and return policies if the finish doesn’t read right in natural light. Buying online? Order a second choice or take advantage of return windows. Outdoor lighting is too visible to settle on a poor match.
Zone your lighting if possible. Primary entry points and high-traffic areas should be brighter and more white-toned: entertaining zones can lean warmer and lower. Dimmers work outdoors too, use a wet-rated dimmer switch in a protected interior location so moisture doesn’t degrade the electronics.
Installation and Safety Essentials
Before you touch anything, cut the power at the breaker. Test the old fixture with a non-contact voltage detector to confirm the circuit is dead. This is non-negotiable, electrocution outdoors often proves fatal because wet ground increases current flow.
You’ll need basic tools: a drill, wire strippers, lineman’s pliers, screwdrivers (Phillips and flat), and a stud finder to locate ceiling joists if the fixture is heavy. Rent or borrow scaffolding if working 10+ feet up: ladders alone are unstable for overhead work. Wear safety glasses, work gloves, and a dust mask if the old fixture has crumbled drywall or insulation around it.
Step-by-step basics:
- Remove the old fixture and label the incoming wires (hot, neutral, ground) with tape or a photo before disconnecting.
- Inspect the electrical box. If it’s loose, corroded, or undersized for the new fixture weight, replace it. Many “mystery installation failures” trace back to a failing box.
- Feed new fixture wires through the electrical box.
- Connect hot to hot, neutral to neutral, and ground to ground using wire nuts rated for the wire gauge (typically 14/2 or 12/2 outdoor circuits). Twist each connection firmly: loose connections cause arcing and fires.
- Secure the fixture mounting bracket, then attach the fixture body. Follow the manufacturer’s diagram exactly, each model differs.
- Install the bulb and shade or lens, then restore power and test.
If the ceiling is old, cracked, or the electrical box is corroded, stop and call a licensed electrician. Permits are required for any new circuits or major rewiring in most jurisdictions. Your city or county’s building department publishes requirements: ignoring them voids warranties and complicates insurance claims if something fails.
Outdoor ceiling fans with integrated lighting offer an alternative if you want circulation plus light. These demand the same rigorous electrical work but add complexity, extra capacity and a second set of controls.
Maintenance Tips for Long-Lasting Performance
Outdoor fixtures battle salt spray, pollen, UV rays, and temperature swings constantly. Neglect shows fast.
Every season (spring and fall):
- Wipe the fixture body and lens with a damp cloth and mild soap. Dried pollen and salt reduce light output by 20-30%.
- Check the caulk or weatherstripping around the electrical box entry. Cracked caulk lets water seep in: re-caulk with silicone-based exterior caulk if needed.
- Inspect wire connections inside the fixture if accessible. Corrosion looks like green or white crusty buildup. A little corrosion can be cleaned with a pencil eraser: heavy corrosion warrants a replacement wire or the whole fixture.
Every 2-3 years:
- Replace gaskets on the fixture lens or housing if they’ve hardened or cracked. Water behind glass leads to mildew and premature failure.
- Test the bulb and replace as needed. LED bulbs last much longer but eventually dim or fail. When they do, replacement is straightforward, just unscrew and swap.
- Re-apply a protective finish if the fixture shows surface rust or dull patches. Paste wax formulated for outdoor metals works well on copper and bronze: lacquer spray protects aluminum. Always degrease first with a soft brush and mild cleaner.
Salt-air exposure demands extra vigilance. Coastal homeowners should hose down fixtures after storms and inspect connections twice yearly. Stainless steel fixtures require the least maintenance but still benefit from gentle cleaning.
If a fixture stops working, isolate the problem: Is the breaker tripped? Is the bulb burned out? Is water pooling inside the shade? Most failures trace back to moisture infiltration or loose connections, both preventable with regular inspection. When in doubt, call a pro rather than risk an electrical mishap.
Conclusion
Outdoor ceiling fixtures blend safety, function, and curb appeal in ways that transform your home’s exterior. Whether you choose a straightforward flush mount, an elegant pendant, or a statement chandelier, the payoff is immediate, better visibility, extended entertaining hours, and a sharper-looking entry. Success hinges on picking the right style for your space, respecting electrical codes and weight limits, and committing to seasonal maintenance. With these fundamentals locked in, your new fixture will reliably brighten your outdoor living for years to come.